Links
RV4
Specifications
RV4 Performance
Flying Around the
World in an RV4
RV4 Building Status
Last Updated 6/7/03
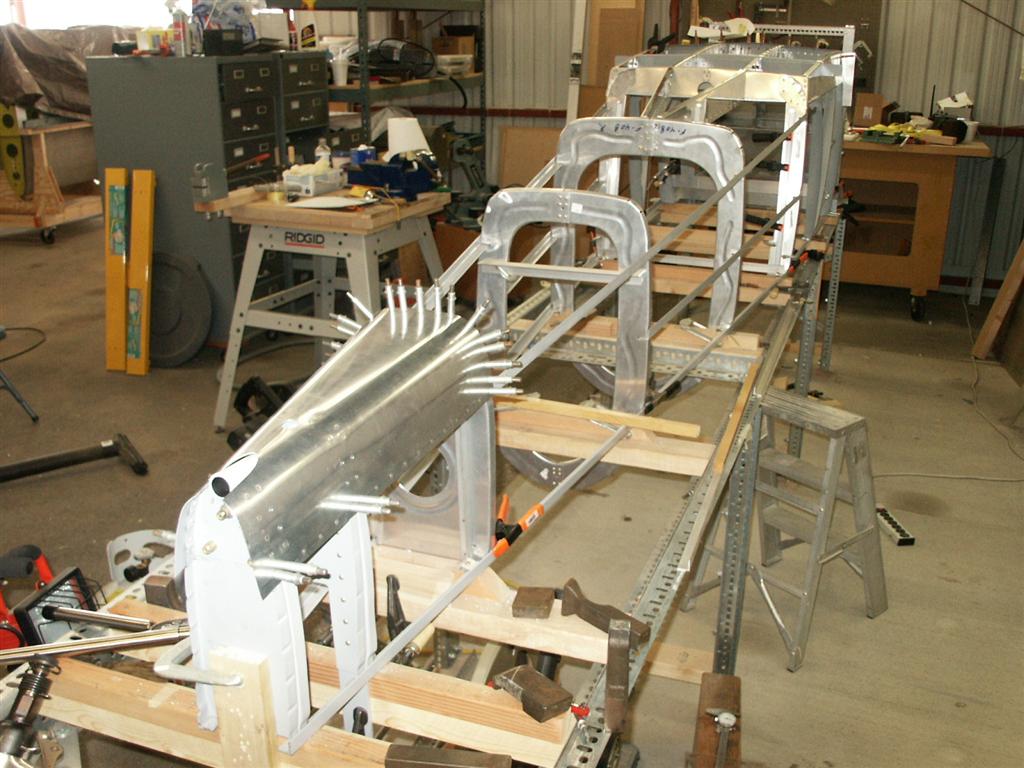
Work on the fuselage progresses at my hanger at Whiteman Airport. If you would like to stop by, I am in Hanger J02
The pictures below are thumbnails. Left click on each picture to see it full size.
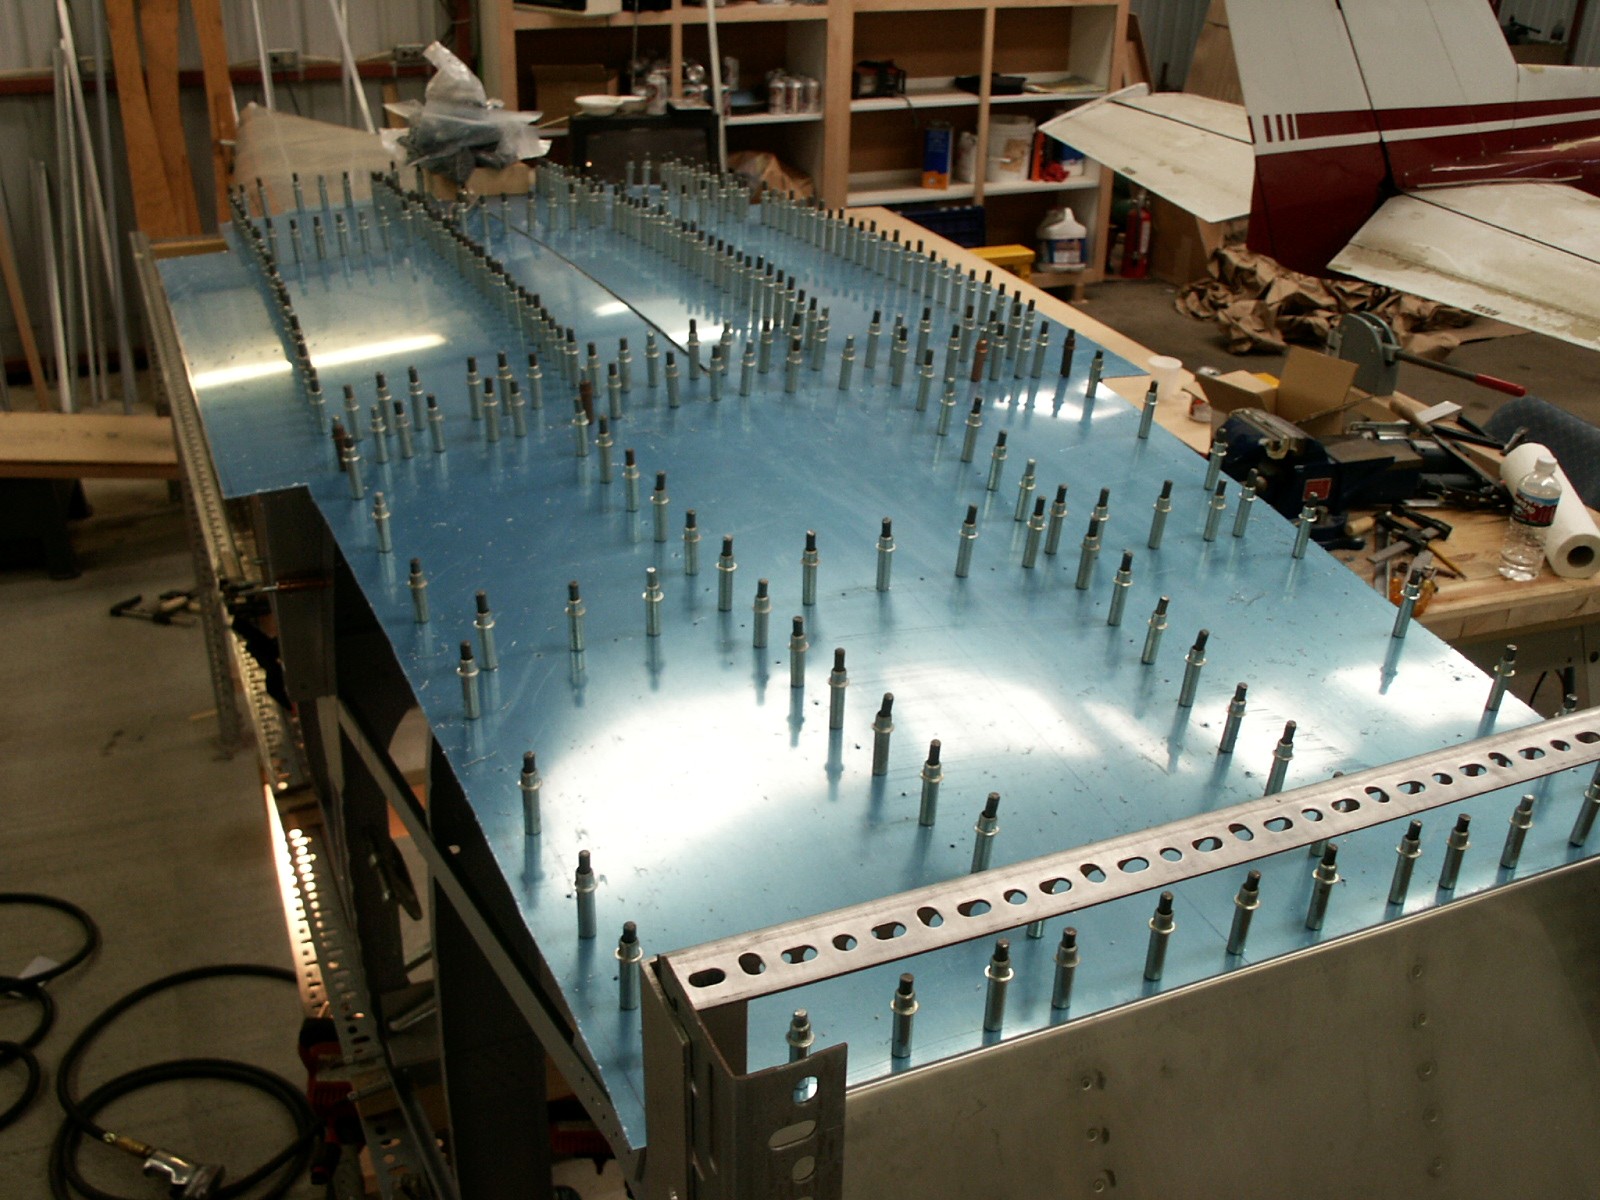
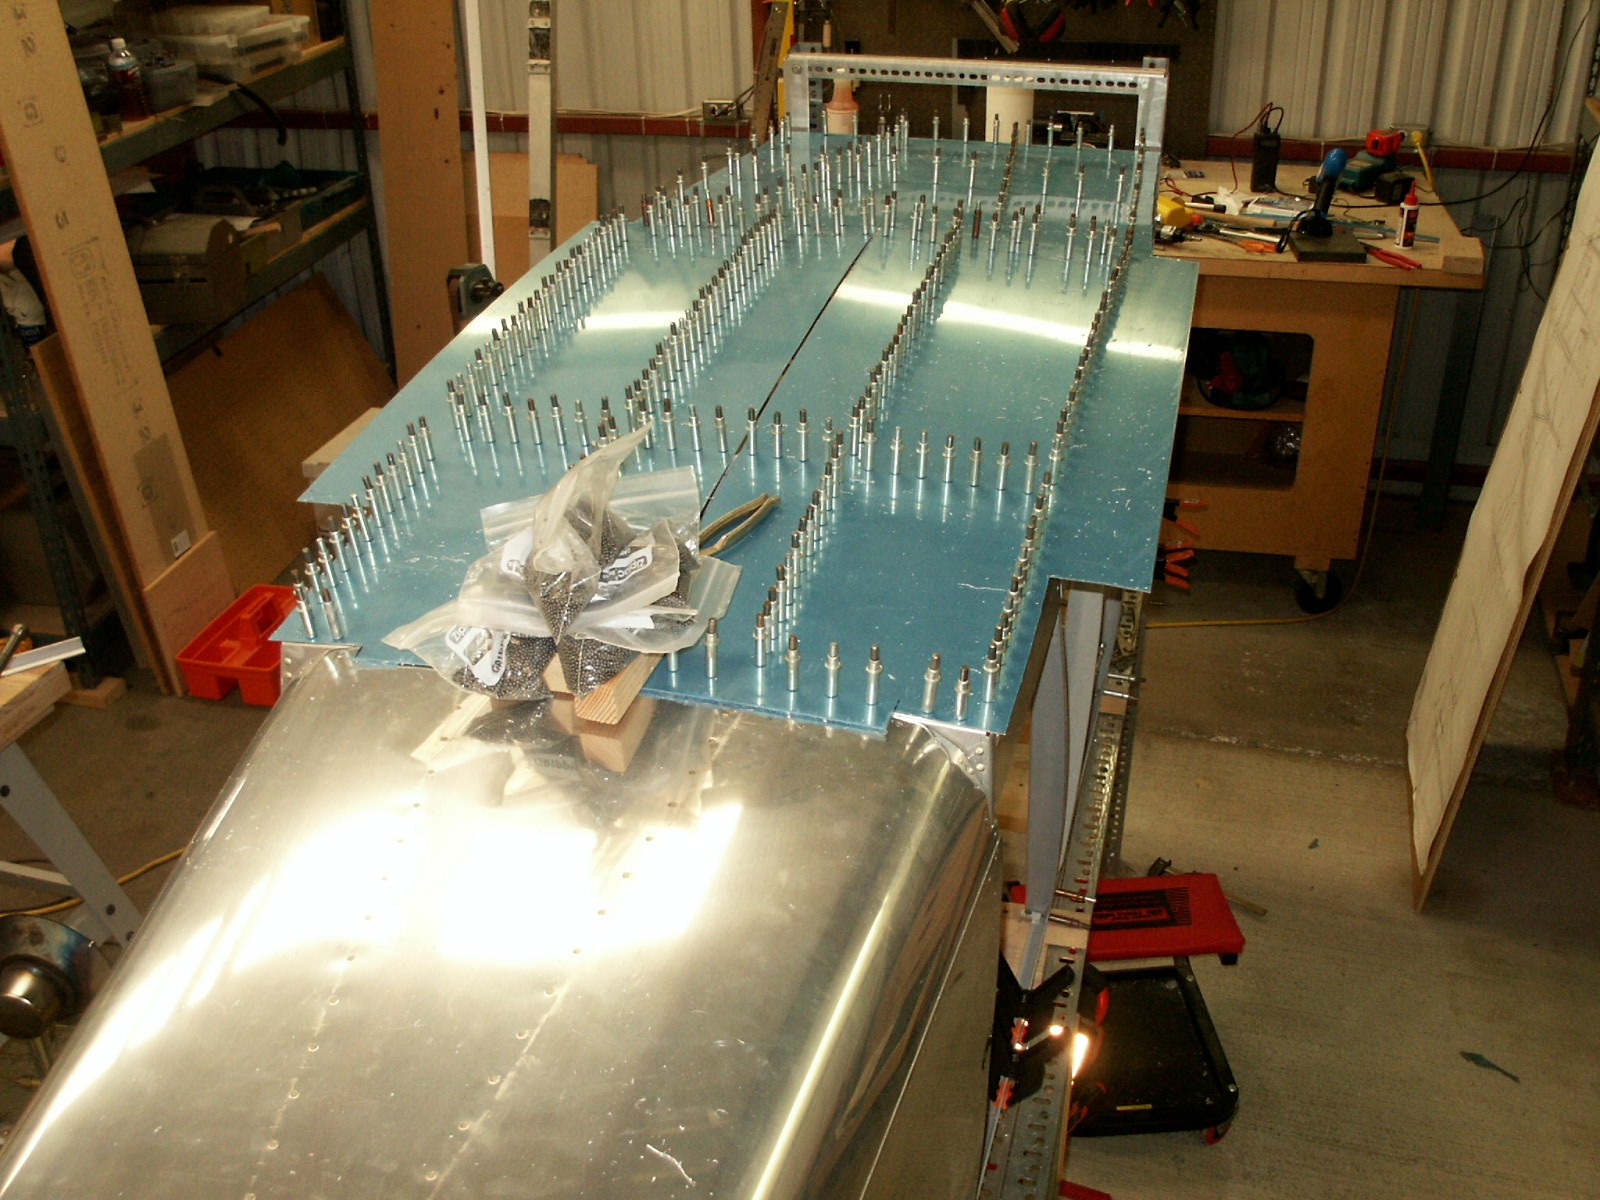
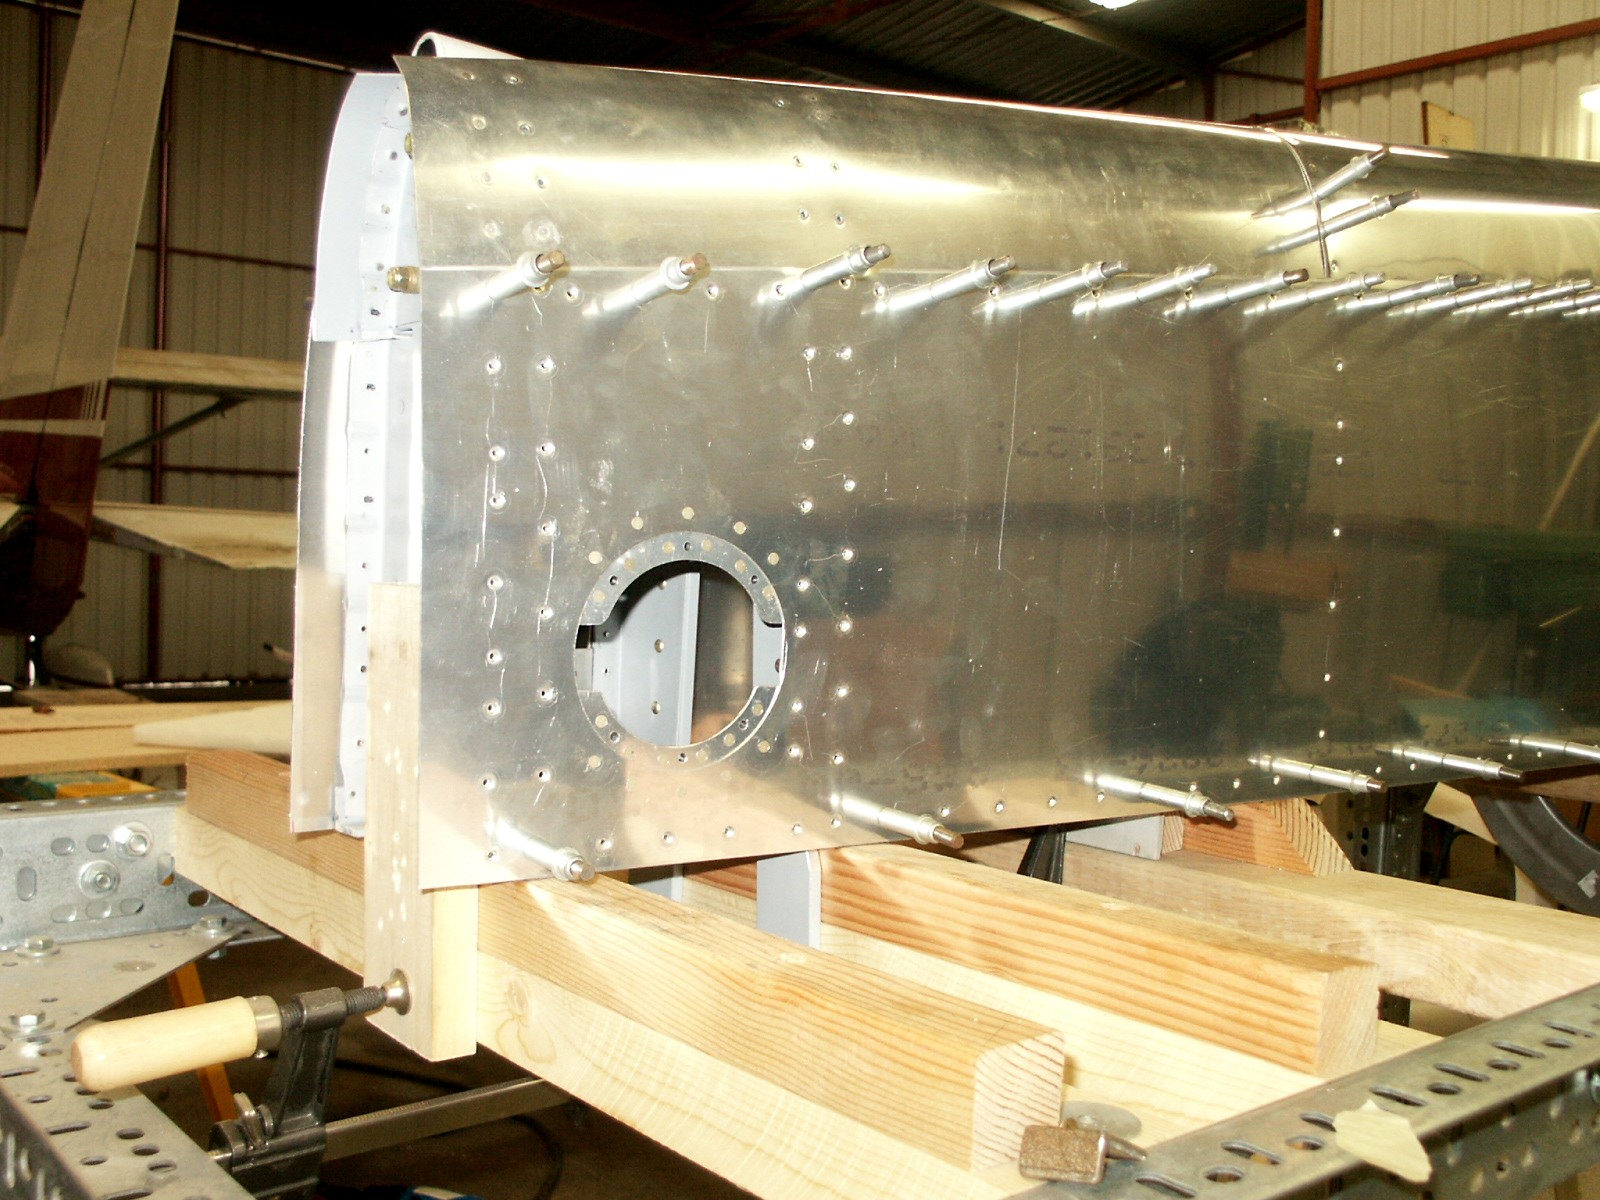
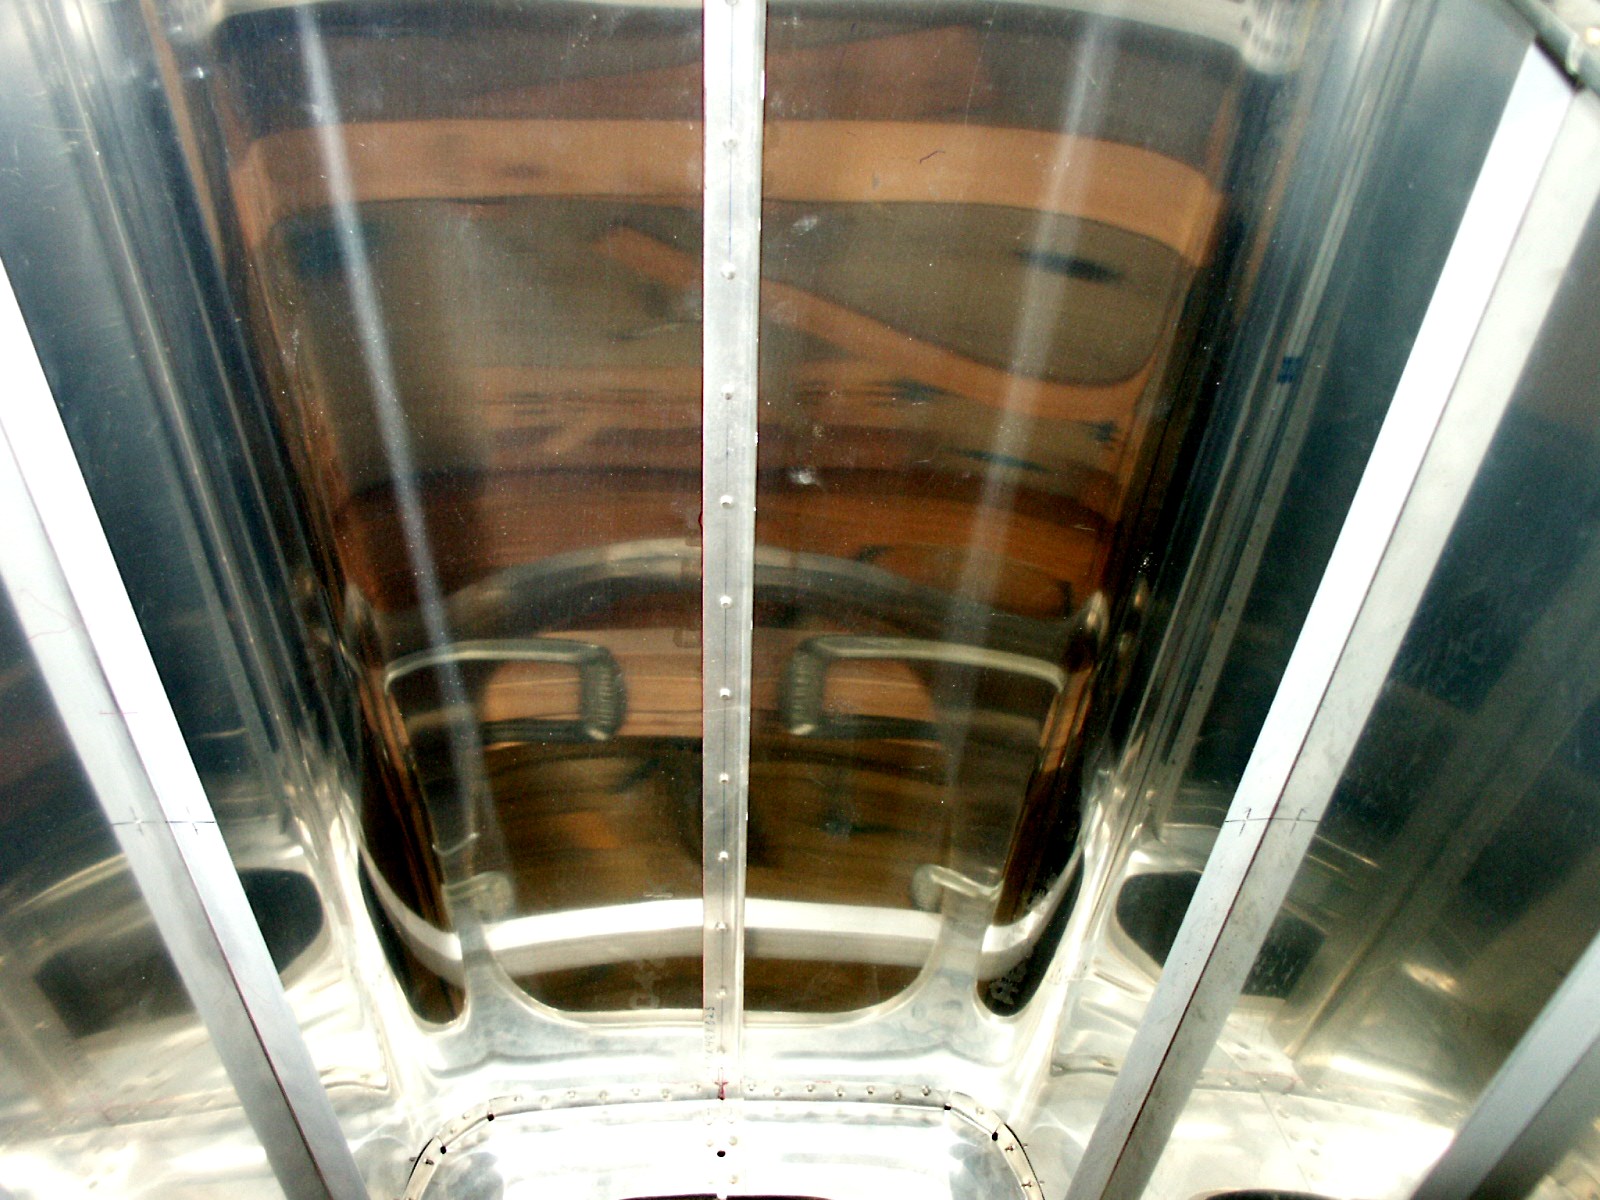
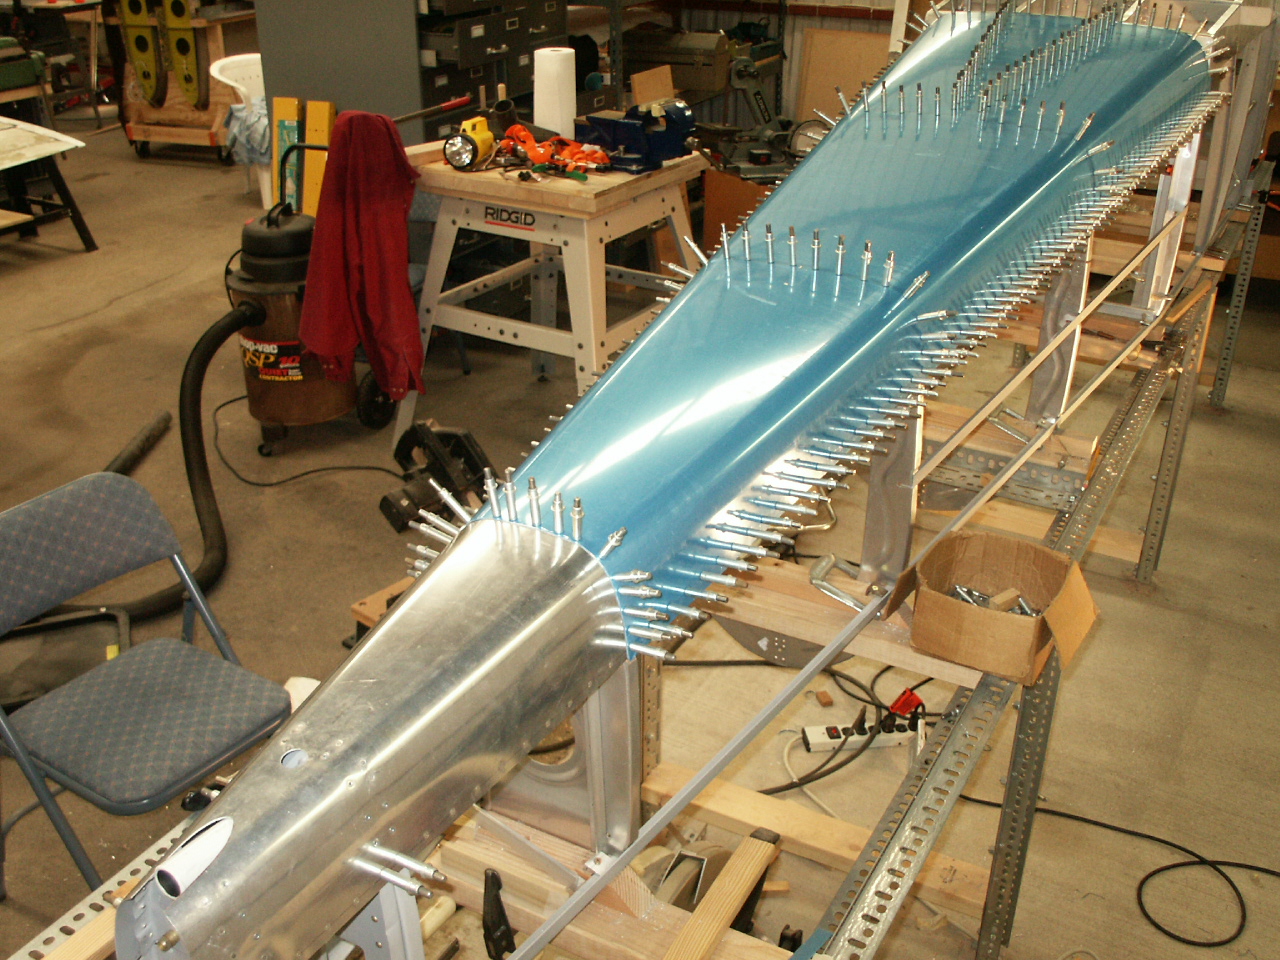
6/7/03 Drilling the forward lower skin to the fuselage frame. Note the wood blocks and bags of lead shot. Since I'm working by myself the plastic bags of lead shot are used to hold the skin down on the frame as I drill. The skin was laid on the frame, and the forward section mating surfaces marked. Then pilot holes were laid out on the forward section and drilled with the skin off the frame. Then the skin was laid on the frame and the forward section drilled and cleo'ed to the frame. Then the rear section was forced to the fuselage frame by the weigh of lead shot bags and various pieces of steel. The rear section mating surfaces were marked. Then pilot holes were laid out on the rear section and drilled with the skin off the frame. Then the skin was laid on the frame, forward section cleo'ed and the rear section drilled and cleo'ed to the frame as shown in the following 2 pictures.
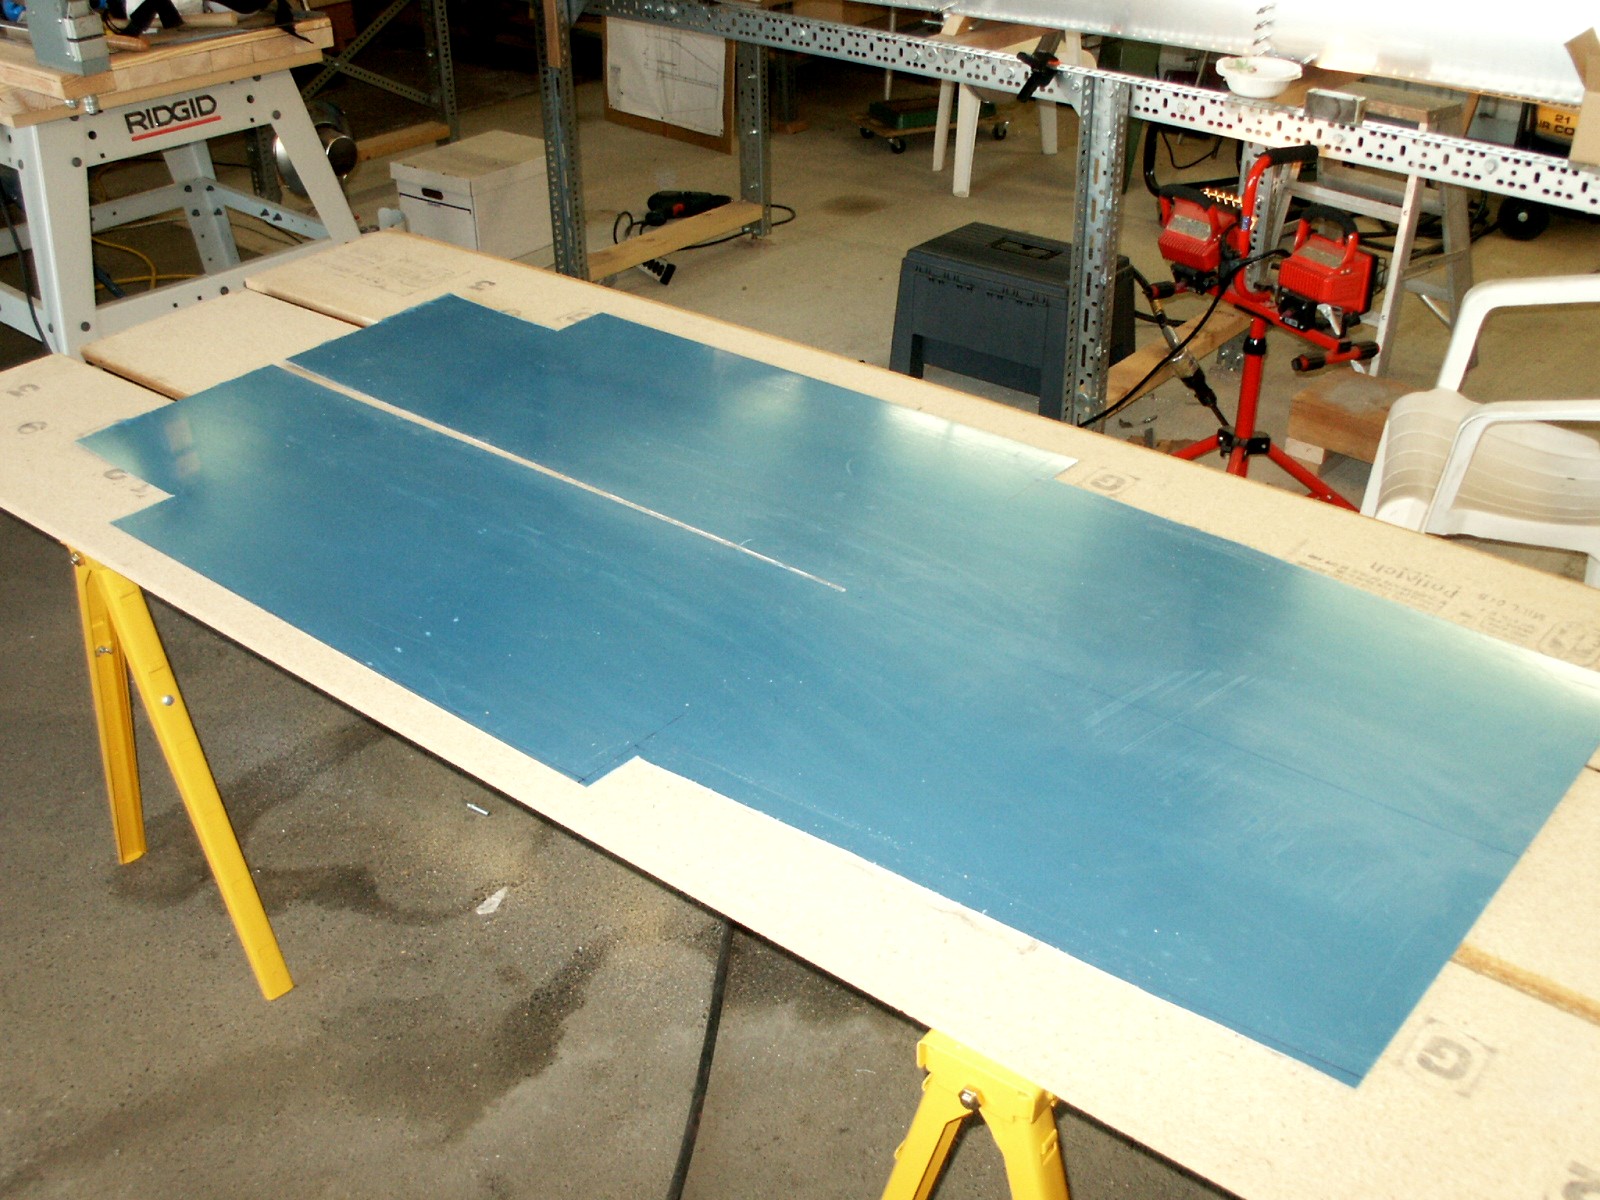
In May 03 rough cut the forward lower skin and cut the slot, that splits the skin in the rear half.
Started riveting the fuselage rear side skins to the fuselage frame on 4/21/03. Chris Randall and Tom Gerbing are helping me rivet. Thank you both. Wherever possible we are using the "back-riveting" technique to achieve minimum distortion of the skin.

Here is a shot of one of the access holes in the fuselage side skins. I put a 4-inch access hole (and cover) on each side of the fuselage. The holes were made with a fly-cutter. Thanks to Bill Fenimore for all his assistance in installing the access hole back plates on 4/20/03.
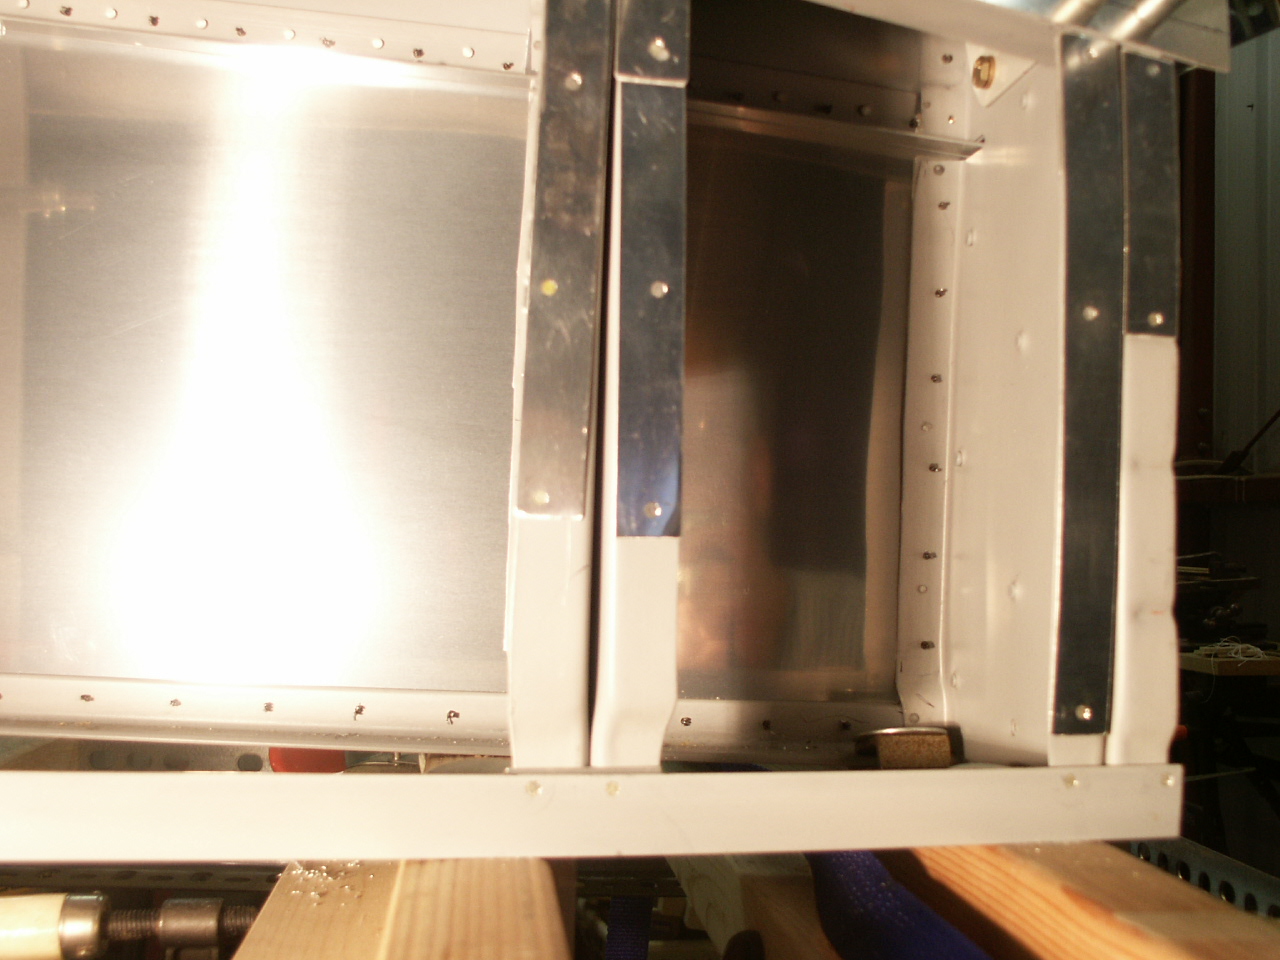
By the way, the rear bottom fuselage skin seemed to "oil can" between bulkheads F408 and F409. I made an angle stiffener from 0.015" aluminum and riveted it in the center of the skin between the two bulkheads. This cured the "oil canning". Here is a picture of the stiffener riveted in place.
4/1//03
Here is the picture of the week. My good friend and hanger partner, Ed Holyoke, is drilling the tailgear attach bolt hole in my RV4. It took about 1/2 hour to drill that hole through over an inch of 4130 steel. Ed is building an RV6. These two pictures were taken in Feb 03.


Tom Gerbing and I riveted on the bottom rear skin last week. I decided to rivet it to the lower longerons before attaching the side skins, although the plan instructions say to match drill the bottom and side skins.
My fuselage frame is tacked to together with very tiny 1/16" rivets (not per plans). RV4 builder and IA, Malcolm Neal, said that Lockheed uses the 1/16" rivets to tack their fuselages together before skinning. That idea sounded good to me. Malcolm gave me about 1/8 of a cup of these rivets to use. Also I decide to shim each bulkhead so that the side skins would have a smooth line over onto the bottom skin. The shims were made of multiple layers of 0.015" Al strips to give a smooth transition to the lip of the bottom skin. Here is a picture of some of the shim work. The shims are tacked in place with the 1/16" flush rivets.

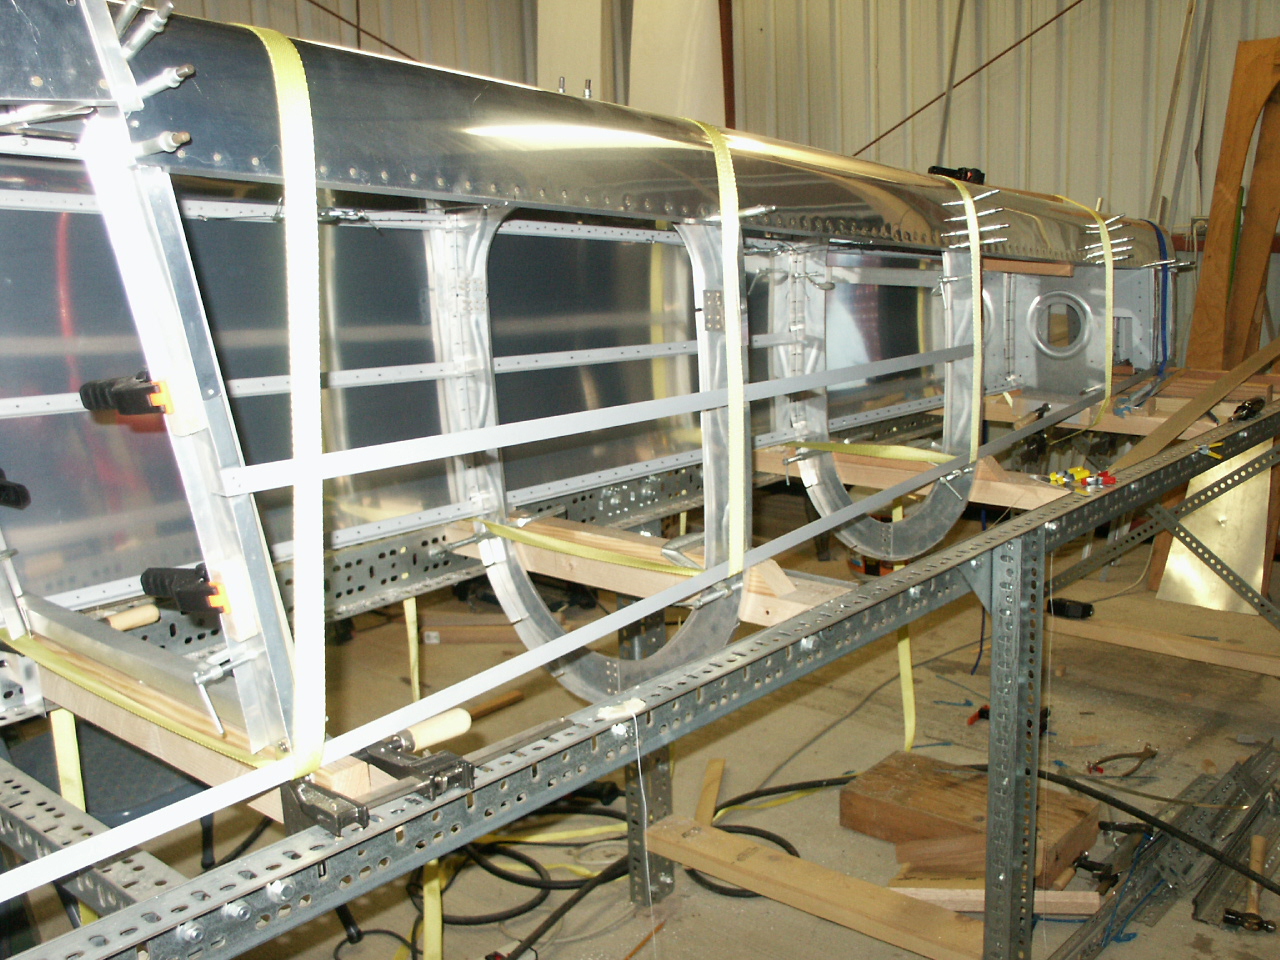
There one of the rear side skins has been drilled and cleco'ed to the fuselage frame. The skin was held while drilling by 1x2 fir strips drawn tight with nylon straps. Picture taken 3/31/03.

The bottom skin, that runs from bulkhead F407 to F410, has been drilled and cleo'ed in place. See picture below. The fit of this skin is good. Picture taken in early Mar 03.
2/22/03 Here I have the bottom skin, that runs from bulkhead F407 to F410, temporarily clamped to the fuselage frame, using some straps and wood strips, for the purpose of marking the locations of the bulkhead flanges and longerons, using a Sharpie marker. Next I will do some trimming of the skin and drill pilot holes in the skin at the places where it will be riveted to the bulkheads and longerons.

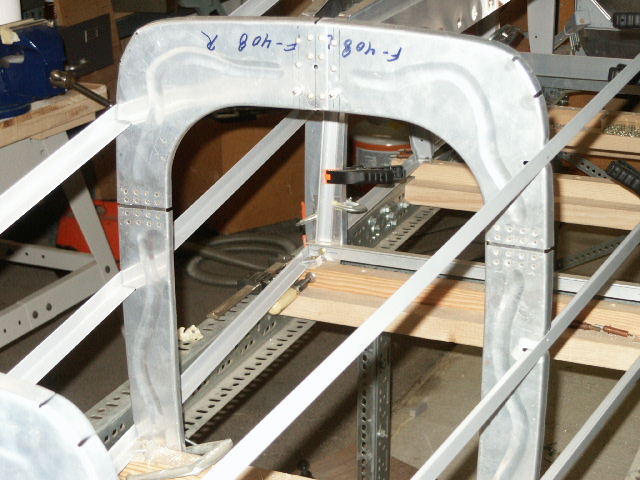
When checking the alignment of bulkhead F407 to F410 I found that F408 was low by 1/8 inch. So I lengthened bulkhead F408 by 1/8 by cutting and splicing. See below the splice junctions at each side.
Here is the back side of one of one side of the bulkhead.
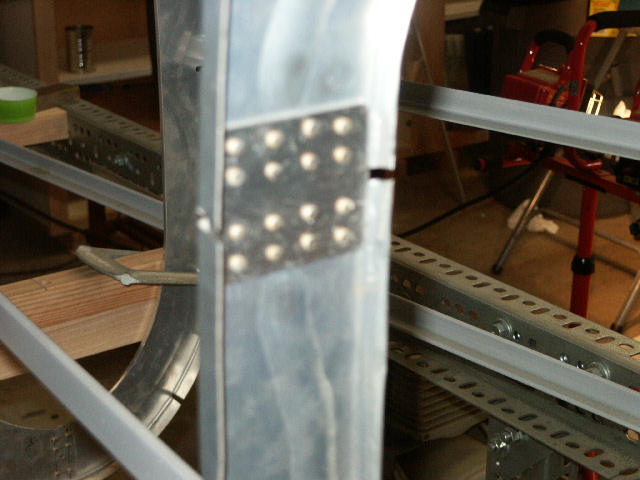
This was fairly easy to do. I made up a drill template, without the 1/8 inch spacing. I drilled the 16 holes each side of the bulkhead using the drill template. Then I made the 2 splice plates. I drilled the 16 holes in each splice plate spacing the top 2 rows and the bottom two rows of hole to achieve the 1/8 inch displacement of the bulkhead. Then I used a cutoff wheel in an air driven die-grinder to slice each side of the bulkhead. The plates were then riveted to the bulkhead with 3/32 flush rivets with a hand-squeezer. The task of lengthening the bulkhead took about 4 manhours.
On Sunday 2/16/03 we (Chris Randall helped) riveted on the bottom rear fuselage skin.
Picture below: